Showing posts with label gradient. Show all posts

9 June 2016

Gradient Neon Stamping

This week I am celebrating my 4th year of blogging here on Secretary's Nail Art, and to celebrate with style I am trying out something a bit new in terms on nail art. 
Today I have for you a subtle splatter and neon gradient stamping nail art look. 
I am using polishes from Opulent Essences - Taste The Rainbow Collection that I purchased for my own money a couple of months back. 

This collection is filled with vibrant neon polishes, and I have had so much fun playing around with them. Below you can see a picture of the polishes used today over Sinful Color - Snow Me White. 
Opulent Essences - Strawberry, Opulent Essences - Orange, Opulent Essences - Blueberry and Opulent Essences - Lime.

Opulent Essences - Taste The Rainbow
Opulent Essences - Taste The Rainbow Collection polishes used in this manicure. 

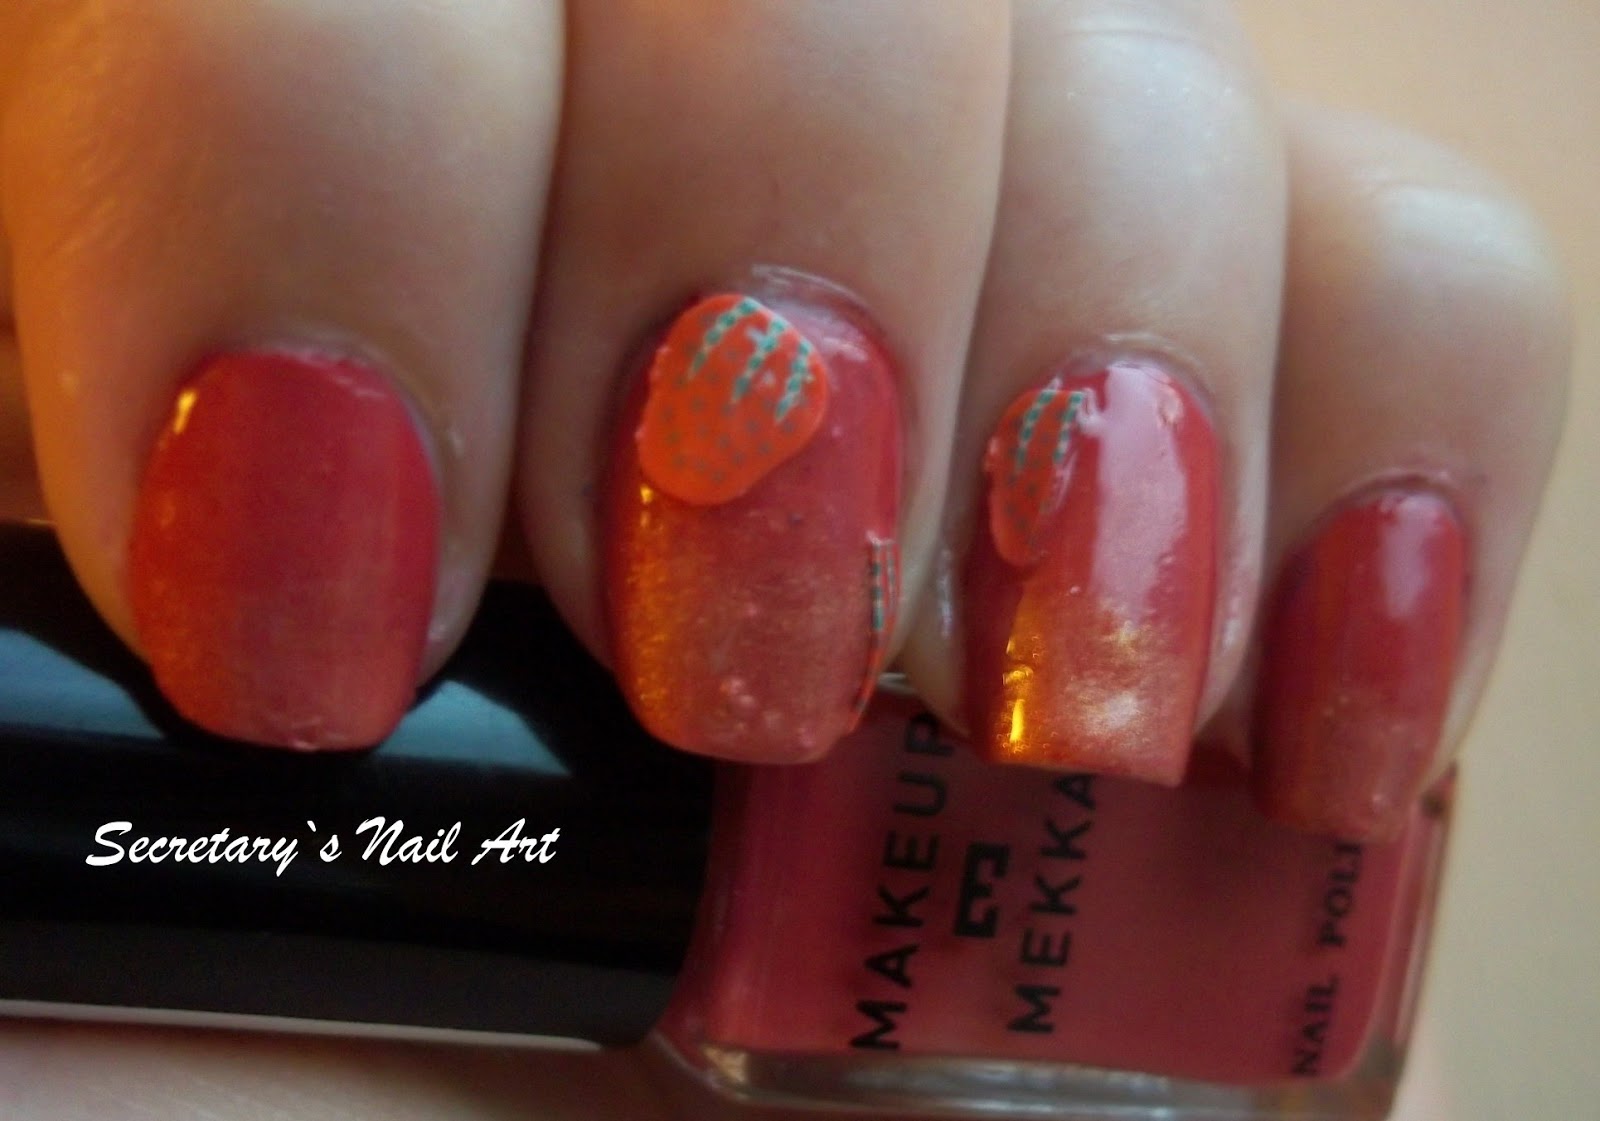
For the splatter I used a baby toothbrush and splashed some polish over my white base polish, Sinful Color - Snow Me White. I wanted a light spray of colour, so that it would look more like small specks over the white than those large splatters you often see features in nail art looks. 

Then I picked up my Bundlemonster BM-XL204, Beaching Nails stamping plate and put Opulent Essences - Blueberry and Opulent Essences - Lime on each half of the image before scraping 2-3 times lightly over in order to blend the colours to create a gradient effect in the stamping. I think it came out the best on the long finger, but I definitely think I am on to something here.
Just need a little bit more practise on gradient stamping. 


Opulent Essences Gradient NailArt
Subtle splatter with neon gradient stamping. 


About Opulent Essences:

Opulent Essences is a Vegan Friendly Nail Polish Maker from the UK. Behind the brand is the duo Sharon and Zoe. They are awesome, and so are their polishes.
Etsy Store
Instagram

If you want to see more nail art looks from this collection, follow the Label: Opulent Essences.


About Bundlemonster:
Started in 2009, sells an arrange of nail art products and stamping polishes. Located in Hawaii, sometimes shipping and taxes for us UK girls can get a bit expensive, but luckily you can get most of their products from Rainbow Connection UK .


Blogiversary

7 June 2016

Neon Watercolours

Today I have for you a nail art look that was inspired by the many festival outfits that I have seen so far this summer. 
Neon seems to go hand in hand with geometric shapes this year, so I decided to throw a little part on my nails and rock a Festival Ready Mani. 

I will be using Opulent Essences - Taste The Rainbow Collection for this look, using Opulent Essences Grape, Opulent Essences - Strawberry and Opulent Essences - Blueberry (purple, pink and blue from the picture below).

Neon polishes UK
Opulent Essences - Taste The Rainbow Collection

If you want to see more nail art looks from this collection, follow the Label: Opulent Essences. 


First I applied one coat of Sinful Color - Snow Me White to all my nails.
Then I dabbed some Opulent Essences - Strawberry and Opulent Essences - Blueberry on my stamping mat and squished my jumbo clear stamper over and gave it a little twist before pressing it on my nails. I repeated this three times on my middle finger and twice on my ring- and little finger. 

I wanted to do some gradient stamping with these shades and chose Uber Chic stamping plate 2-02 that I recently purchased. I think the diamond image works really well with this look. 

The smoosh base really makes these neons look like vibrant watercolours and I just love how it looks. 


Neon Nail Art - Taste The Rainbow from Opulent Essences
Neons and Diamonds. 


About Opulent Essences:
Opulent Essences is a Vegan Friendly Nail Polish Maker from the UK. Behind the brand is the duo Sharon and Zoe. They are awesome, and so are their polishes.

Etsy Store
Instagram


About Uber Chic Beauty:
Uber Chic Beauty is the leading Indie Stamp Plate Maker, and the company and their leader Brittany is located in the US. It can be a bit expensive for us UK girls to get our hands on the plates if ordering directly from Uber Chic Beauty, but luckily you can get the plates from Nail Artisan UK.

20 May 2016

Opulent Essences - Taste The Rainbow Collection Nail Art

My entire flat is filled with bags and boxes of stuff. Most of the nail room has already been packed down and is ready to go to the new place this weekend, to my new Nail Cave.
I am super excited about getting a bit larger room for my nail stuff, and not having to share it when we have visitors. At the moment, my nail cave is in the spare bedroom, but in the new house, we are swapping the large double bed we have for guests now, for a super comfy sofa bed.

Since moving is hard on the nails I have filed them a bit shorter, and made sure there is a nail file and plenty of cuticle oil ready for me at the new place. Cardboard boxes always dries up my cuticles.

I know I have already written a couple of times about how I move and travel with my nail polishes, if you want an update and a bit through post about different packing ideas and methods let me know. For the past 4 years I have moved  about 10 times across 5 different countries, bringing nail polishes with me on planes, boats, trains, cars and carried them on my back in a rucksack.
I have found some great ways to bring with me my entire collection which is now counting around 700 polishes, when I first moved to Wales from Norway I had "only" 150 polishes...

I wanted to show you two different nail art looks that I have done lately, between all the packing and arranging stuff for the move.

Neon polish
Opulent Essences - Taste The Rainbow Collection (neon polish)


First one is a drybrush look, which I did using the Taste The Rainbow Collection from Opulent Essences that I purchased a while back.


Neon Nail Art
Neon Drybrush Nail Art using Opulent Essences Orange, Strawberry and Lemon over Sinful Color - Snow Me White
I used Sinful Color - Snow Me White as a base for this look and a drybrush technique using Opulent Essences - Strawberry, Opulent Essences - Lemon, and Opulent Essences - Orange.

I have been too hard on my nails when packing, so sadly this is the only picture I got of this look. It's still a pretty mani, so I wanted to share with you all.


neon polish UK
Sinful Color - Snow Me White polish base and my food.


The next look I wanted to show today is a look that ended up as a total fail.
It's a fail because I decided to add some animal prints to the look, and had this fantastic idea of making "Cougar Nails". Sadly, the animal prints I decided to use, destroyed everything.


Before Christmas I purchased some stuff from Bundlemonster, and I threw in a Surprise Bundle with Nail Art stuff. I had chosen to use the stickers (MP019) that was in this bundle of fun.

I applied them like you would with any other nail art stickers and seal with a topcoat. Didn't really think much about it, and let them dry for 30 min before adding another layer of top as the stickers where still sticking through the topcoat. Not long after the stickers started wrinkling, and turned gummy, and turned not just the topcoat and the stickers gummy, but the entire gradient underneath and the white undie as well(!)
It would not dry.
After 5 hours I noticed that it looked like it was sliding off my nails...
So I removed it all.
I was gutted, because I was so happy with my gorgeous gradient, and had not taken pictures of the steps. Needless to say, I was not in the mood to sit down and do another gradient.


What are some of your nail art related horror stories?

11 November 2015

Classic Halloween with Barry M

Halloween is over and I wanted to share this Halloween manicure I didn't get it up on my blog in time for the event. This one is perhaps a little more conventional Halloween than my previous ones.

Zombie Pond
Zombie Love - A Pretty Serious Production


I must have done 4 different designs using these two polishes and various Halloween plates and settled on this look .

One of my attempts started out like this:

Gradient using Barry M - Gelly - Satsuma and Barry M- Berry Cosmo

Once I got the design on, I hated it, and didn't feel like doing the gradient all over again. So this is the only picture of that attempt.

Oh, that gradient thou. Looks great. 

For this manicure I used Barry M - Gelly - Satsuma and Barry M- Berry Cosmo.

Sidenote: Barry M- Berry Cosmo falls between Barry M - Vintage Violet and Barry M - Gelly - Plum in shade and if you got the previous two, and love purples, check this one out as well.

I dug out some Bundlemonster stamping plates, as I have been so obsessed over my newer plates lately that I felt like going back.  BM - 305. Pumpkins!

A Classic Halloween manicure using Barry M - Gelly - Satsuma and Barry M- Berry Cosmo

Sadly I didn't manage to get this one out on my blog in time for the festivities, but there you have it. A Classic take on a Halloween manicure


12 January 2015

Leopard prints over gradient

I am sure this don't just happen to me, you sit there with a vision in your head, and when you pick up your stamping plates, you have a plethora of images that could fit the vision, and you have no idea which one to choose (?).

I wanted to do leopard-nails, and when I finally decided on colours to use as background, and grabbed my plate I noticed that I have quite a lot of different ones.

So which one should I choose?

Would I use one of the leopard prints (there are three different ones) from Cheeky - Jumbo plate 9 - Wild At Heart, or CH1?
Would I use the one from Bundlemoster plate BM-221?
Would I use the one from Mash-40?
Would I use the one from my Konad m57?

So I am sitting there with 7 different leopard prints, and I am wondering if I should just freehand them, as I am having a hard time to choose.

While I was thinking hard about what to choose I went and did the sponge gradient I wanted as the background.

I used W7 - Royal and sponged Yes Love - Shiny Glitter - 27 on the tips. Using PVA glue around my nails to make it easier to do the clean up. I am so glad I did, the Yes Love polish was tricky to clean up and I had shimmering particles on my skin for a loooong time after I had the mani removed.


I am sure there are some of you that actually will be able to guess which plate I ended up with here. For the rest of you I can tell you that I used the Cheeky - Jumbo plate 9 - Wild at Heart.

I hope you liked this manicure. It is not like me to do animal prints, but sometimes I am brave and try to embrace the wilder sides of nail art. 

11 June 2013

Magic Copper

I wanted to do something unique, something special.
..and it needed to be glitter.

Why glitter?
Well Jess Prosser suggested it on my FB-page , cause I was going away from a couple of days, and needed a durable manicure. So this is what I created.

First of I started with two coats of Wet and Wild - Black Creme, my ESSIE - Licorice seems to be missing in action. I prefer using the ESSIE one for these kind of things, and save my Wet and Wild for stamping. Oh well.

Then I grabbed Accessorize - Magic. I choose that polish cause it was the first glitter polish I used on this blog, you can see that post here.It has micro glitters and small hex glitters. In different lighting you will be able to see that it picks up color variation from dark purple to bright pink. Its chunky, and pretty much a full coverage glitter. As all the Accessorize glitters from their 3D collection was ( this is the only one I picked up).

This step is also where all the fun started. For I wasn't happy with just doing a coat of that, and be done with it. No, I was going to do some heavy duty layering.
I grabbed my Mavala - Copper Glitter. I have had it for ages (before I even started blogging), and never used it, until today.
So I took of as much glitter as possible, and started with an almost "dry" brush with Accessorize - Magic, dabbing was no use, as the coverage was still so thick, but what I could do was do a little bit of Magic, then some Copper Glitter over, since Mavala - Copper Glitter is in a clear polish, it would make the manicure more on the jelly side. In the end, it must have been about 7 carefully places layers of Copper Glitter and Magic. a little bit here, and a little bit there.


I even did an accent, where instead of starting with Magic, I started with Copper Glitter.
As I continued the work, it made me think of Fantasy Fire, more and more. So in a way, this is Max Factor - Fantasy Fire made in glitter.


What do you girls think?

Indoors, artificial light


1 March 2013

Strawberry Daiquiri - Nail Art

By layering Strawberry Daiquiri from MakeupMekka, and Sunny Pink - Mac Factor I created this manicure, to lighten up my mood.
It's been a rough few days lately. Trying to find your roots in another country is not like a walk in the garden picking berries. It's hard. I don't know many people here, and a rather shy person. And the people I do know ... well, it seems like I have had a tendency to alienate people more than making new friends lately.
One step back, look at what I am doing. Up again, and let's try another approach.

It all starts with a manicure that will cheer you up.


20 August 2012

MSMD - Gradient sponging over nail striping tape mani II

As you might remember I did a Gradient sponging over nail striping tape mani on last monday for the MSMD (Monkey see Monkey do). I loved it so much and wanted to try it out with another set of colors.


Huge thanks to Lacquer or Leave Her for introducing this mani, on her MSMD, a few weeks ago.
If it wasn't for you, I would never have stumbled over this design.
(I wanted to post this mani as soon as she got up, but I haven't seen her yet, so I am just going to do it now. I don't like scheduling posts..)

I finished this mani just around midnight, so I didnt get a chance to take a picture right away, so there will be some wear on it.


4 August 2012

Time for Reflection over Tristam

Good morning everyone.
Its time to do some nail art.

Last night I swatched A England - Tristam.


Its sooooo Pretty. 
If you don't want to see me totally transform this polish, into something else, don't read any further. There might be tears.

I grabbed my Time for Reflection -  Essence, and did one coat over Tristam.


Wow! No trace of Tristam left. Totally transformed. Do you like it?

I did some nail art over it, I`m not a fan of how it turned out, but here it is anyway. Who knows, you might like it.


I sponged using Mystic Mauve - Models Own. Then I stamped with BM plate 316, in WnW Black Creme.
It might have looked better without the coat of Time for Reflection - Essence.


19 June 2012

Shaded Blues

Sorry for not participating in the Summer Challenge. I didn't quite feel like it today, here is my first sponged mani, ( well.. I just sponged the tips, but its a beginning.

One coat of BeYu - 142

One coat of NYX Matte - Teal, on half.

Depend - 246 sponged on the tips and stamped BM plate.


I used three different blues for this mani, and French White from H&M. This is the first time I have ever sponged polish, and I am very pleased with the result.
BeYu - 142, NYX Matte - Teal, Depend - 246, French White - H&M. Using Bundlemonster plate - erhm, where is that plate now.. 

Ill let you know when I find it.


Did my besties nails as well with NYX Matte - Teal.

NYX Matte - Teal. Matching the coffee cup we went out and got after I had done our nails.


Let me know what you think in  the box bellow.