Showing posts with label franken polish. Show all posts

22 December 2015

Candy Canes in Stockings

One of my favorite stocking filler is Candy Canes.
So I decided to do another nail art with Candy Canes as a theme.  I know I have already done two other Candy Cane looks, but I am sure you all have room for one more.

For a complete list over my Christmas themed nails so far this year.

This time I swapped things around a little, and used my franken creation; Secretary's - This is My Jam? as a base. I even did a swatch picture.


Secretary's - This is My Jam? (franken polish)


I am so happy with how this franken creation turned out. Just look at that lush red polish. Love it!
I wrote a little 101 on Frankening, that you can find over here if you are curious and want to give it a try.

I did my stamping using Cheeky - Jumbo Plate 6 - Happy Holidays and  Sinful Color - Snow Me White.


Secretary's - This is My Jam? stamped using Sinful Color - Snow Me White and
Cheeky - Jumbo plate 6 - Happy Holidays


I hope you liked this look, be sure to follow me on the blog, Facebook, or Google + for more Christmas nail art designs, I will continue to do one look each day until the 25th. The 25th I will take a holiday from all the nail art, and spend the weekend with my boyfriend.

For more Christmas themed nails check out my other designs here.

19 December 2015

Candy Cane

I pulled out all my stamping plates to find the perfect Candy Cane image a while ago.
Surrounded with stamping plates, I was eagerly looking for anything with stripes and swirls that would work for this delicious look.
In my previous post I used MASH-43, CH4, BM-205 and BM-210, but I had more stamping images that could possibly work for this look, so I decided to do another one.

This time I am using Cheeky - Jumbo plate 3 - European Romance, BM-301, BM-207 and Über Chic - Plate 3-02.

I started out with painting all my nails with Sinful Color - Snow Me White, one coat. Then I grabbed my newest franken creation; Secretary's Nail Art - This is My Jam? from the last post, and stamped over.

I wrote a little 101 on Frankening, that you can find over here if you are curious and want to give it a try.


Candy Cane Nail Art using Cheeky - Jumbo plate 3 - European Romance, BM301, BM207 and Uber Chic - Plate 3-02.


Which nail you do think look the most like a Candy Cane?


I hope you liked this look, be sure to follow me on the blog, Facebook, or Google + for more Christmas nail art designs only a few days left of the holiday.

For more Christmas themed nails check out my other designs here.

17 December 2015

Candy Cane

I pulled out all my stamping plates to find the perfect Candy Cane image for today's nail art.
Surrounded with stamping plates, I was eagerly looking for anything with stripes and swirls that would work for this delicious look.


Candy Cane - Picture by JuttBahi


First I needed the perfect polish for the look.

To get that I grabbed the much hated Ciate - Boudoir that I used for a previous look this month. since I didn't like how sheer the polish was I decided to turn it into something that I could use. I poured all of it in a full sized bottle, and cleaned out the Mini bottle in order to re-purpose it for another franken polish one day.

If you are wondering how to properly clean out nail polish bottles, take a look at this handy link.

I wrote a little 101 on Frankening, that you can find over here


With bottle cleaned out, and empty space in a full sized nail polish bottle, I grabbed StarGazer - 315, a gorgeous glass fleck red polish, and added some. Mixing wise it was 2 parts Ciate - Boudoir and 1 part StarGazer -315.
Together they make a lovely crelly red with glass flecks. It also stamps, so perfect for what I was going for today.

Thanks to the awesome ladies at PAA, and in particular Lori, this polish was named:
Secretary's Nail Art - This is My Jam?

For base I used Sinful Color - Snow Me White.
I used BM-205 (ring finger), BM-210 (little finger), MASH 43 (index), and CH4 (middle finger) for this look.

Candy Cane Nail Art using MASH43, CH4, BM205 and BM210

Which nail you do think look the most like a Candy Cane?


I hope you liked this look, be sure to follow me on the blog, Facebook, or Google + for more Christmas nail art designs.

For more Christmas themed nails check out my other designs here.

26 August 2015

Frankening

So if you read yesterdays post about re-purposing your nail polish, you might be wondering what to do with all the empty nail polish bottles.

First we have to clean the bottles.  <-- Follow the link for more information on how to do that properly.

How about making your own nail polish?

Frankening (fránk-É™n-ing) – The DIY practice of mixing one’s own unique nail polish using glitter, micas, pigments or eye shadow with clear or other polishes.

You can buy some really cool Frankening sets, where everything is safe and tested, and all you have to do, is decide how the end result is going to look.  As I am a Secretary, I have taken the time to collect this list of Frankening Suppliers. If you are missing a supplier on this list, please let me know, and I will add them.


  1. GirlyBitsCosmetics Franken set
  2. Nailite Franken set
  3. Overall Beauty - pigments (I have seen that DrFrankenPolish uses these pigments alot for her frankens)
  4. DrFranken's Lab (at the time of writing this, this shop is temp. closed)
  5. ShebaNails 
  6. Nail Super Store (AU) 
  7. Glitties Nail Art  
  8. Glitter Unique 
  9. Manda Makes 
  10. Micamoma 
  11. Wonder Beauty Products
  12. TKB Trading
  13. NEL Beauty
  14. Misfits on 8th
  15. Frank and Shine Designs
  16. BrambleBerry
  17. Nail Glitter Princess

Here are two of my frankening polishes. 


Secretary's Nail Art - Beauty In The Beholder

Secretary's Nail Art - EmOzean


Now, if you would rather skip the mess and go straight to the fun of having your own nail polish?
I got you covered. 
NAYLL is a company where you can customize your own nail polish, and they will send it your way.
You choose, and they do all the mixing, easy right?


NAYLL - Fields of Marigold and I found Loot. (both polishes frankened by me)

NAYLL - Fields of Marigold (frankened by me at NAYLL)

Until next time, have fun frankening. 

23 January 2015

NAYLL - I Found Loot

Nothing to disclose, all items in this post was bought with my own money

Today I have for you a nail polish that I made. A Franken. Well, this one is a bit different, as I didn't mix it myself, but I did choose what was going in it. You might have hear about NAYLL before. If not, you are about to.

For those of you that have followed my blog for a while, knows that I have made my own polishes before. I am not a complete virgin to "Frankening", if you are, I can tell you that:
Frankening (fránk-É™n-ing) – The DIY practice of mixing one’s own unique nail polish using glitter, micas, pigments or eye shadow with clear or other polishes.
Makes a bit more sense now doesn't it.
At NAYLL you find a huge list of "ingredients" (glitters) that goes in a polish, so that YOU can get the polish you have always dreamed about.

DESIGN WHATEVER YOU CAN IMAGINE!
 Sara Harvey, Founder, NAYLL

I have always wanted a nail polish called: I found loot. I imagined it with round glitters in copper and gold. Those epic moment when you are playing Dungeons And Dragons with your friends, and you come across a chest lined in red velvet, filled with monies. That is what I wanted the polish to be for me. A bridge between two hobbies. My nerdiness meeting my nails. Tales with epic glory, with epic nails. What more can a girl dream about?

I made two polishes at NAYLL, but for now, I will only show you this one. I will make a separate post when the weather gets better for the second polish. I named the other one "Fields of Marigold", so you understand why I need it to be more spring like outside before I use it.

I made this polish around April/May last year, I believe... The nail polish has been on an adventure before making it to me. It was the early days of the company and they did not have a very good shipping option for us Europeans. For a couple of polishes it will cost you $23.50 (tax incl.).

As I could only afford a couple of polishes back then, being without a job and all, I had it shipped to a beautiful lady in the US, and she sent it to me with a couple of other polishes I also wanted. As Paying shipping for both separately, was out of the question.
We all love nail-mail so I added a picture. 

NAYLL _ NAIL MAIL!

Don't you just LOVE the wrapping?! It was a dream to pick this up.

Sara is so cool that she even included a hand-written letter to me.
Here you can see my two custom polishes. Furthest to the left is "Fields of Marigold", and next to it is "I Found Loot". I remember having a conversation with my nail-friend Mishka that I wanted to call it something else, but I can not for the life of me remember what that was.
Anyhow. The intended full name of the polish I am going to show you in this post is "I Found Loot In A Hopeless Place", but that exceeded the 35 characters you can have on the bottle.


If you where curious as to what I wanted from the US, well... I needed more of the Wet n Wild - Black Creme, as it is my go-to stamping polish, and it was almost empty.

As a bonus, Mishka also sent me a franken of her own called "Irish Rain". This is particularity funny, as I live in Northern Ireland. I saw it on her blog, and said it was gorgeous, and she was so nice and sent it to me. I have it in a Plexiglas box on my desk.

She also sent me this very mysterious colour changing blue polish. I LOVE blues, so YAY to me!
I wuvve my Mishka! If you wanna send some love to her, I have added a link to her post about "Irish Rain", and here is a link to her main page. 

I think I have chatted for long enough now. Anyone wanna see what NAYLL - I Found Loot looks like? Below you can see a picture with ONE coat of "I Found Loot" over H&M - Red.


Want to make your own? Head over to NAYLL by clicking _HERE_


Nothing to disclose, all items in this post was bought with my own money

27 April 2014

EmOzean

Today I have for you swatches and some nail art with my newest franken polish. Actually I wasn't the one that made this franken, it was my boyfriend. I created a franken that day, and my bf thought I should use another polish to mix in with NYC - Bowery Black, so I had to mix another polish. You can see my creation here. 
My bf decided to call this polish for EmOzean, and he used the colour of my eyes as inspiration. 
I like how he played up "Emotion" and "Ozean" in the polish name... clever, I see what you did there. 

First I started out with Sinful Color - Snow Me White as base colour. I used two coats of that, then proceeded to add some circular stickers and painted EmOzean over. I finished off with some black striper.


Sinful Color - Snow Me White

Sinful Color - Snow Me White


Sinful Color - Snow Me White and Franken - EmOzean

Sinful Color - Snow Me White and Franken - EmOzean

Sinful Color - Snow Me White and Franken - EmOzean

Sinful Color - Snow Me White and Franken - EmOzean

Sinful Color - Snow Me White and Franken - EmOzean with black striper

EmOzean was created mixing NYC- Bowery Black, Beyu - 377 (blue shimmer) and Depend - 245 (pastel blue)

Have you ever had a male (boy)friend suggest a franken for you?

21 April 2014

The Secretary's - Franken - Beauty in the Beholder

This is the story about how a polish named "Beauty in the Beholder" came to life.

I have always wanted to make a polish with this name, and for a long time I have been wondering what such a polish would look like. When +Michelle Chouinard  from Lacquer of Leave Her! told me about Nayll.com (from whom I have recently ordered two glitter polishes from), this polish-name came back to me. As for how and what on the glitter polishes, that's a story for another time. 
I was looking at the shimmer options on Nayll.com, and thought to myself: "that blue looks exactly like something I got, and so does that grey there. I wonder if they make a good match". So I went ahead and mixed them right up. 

I also made another franken polish, with a slightly different combo, still with the same gunmetal grey colour as base I will have it up later this week. So in order of all things polish, for this, I mixed equal parts of BeYu - 377 and NYC - 272 Bowery Black. I then added a little gem to the polish bottle. 

Franken by The Secretary's Nail Art - Beauty in the Beholder

Franken by The Secretary's Nail Art - Beauty in the Beholder

There you have it, another franken by The Secretary's Nail Art. That makes it a total of four polishes that I have franken'd in my life. What do you think? Do you franken your own polishes sometimes as well?
Let me know in the comments below.

1 February 2013

Hex the Blues

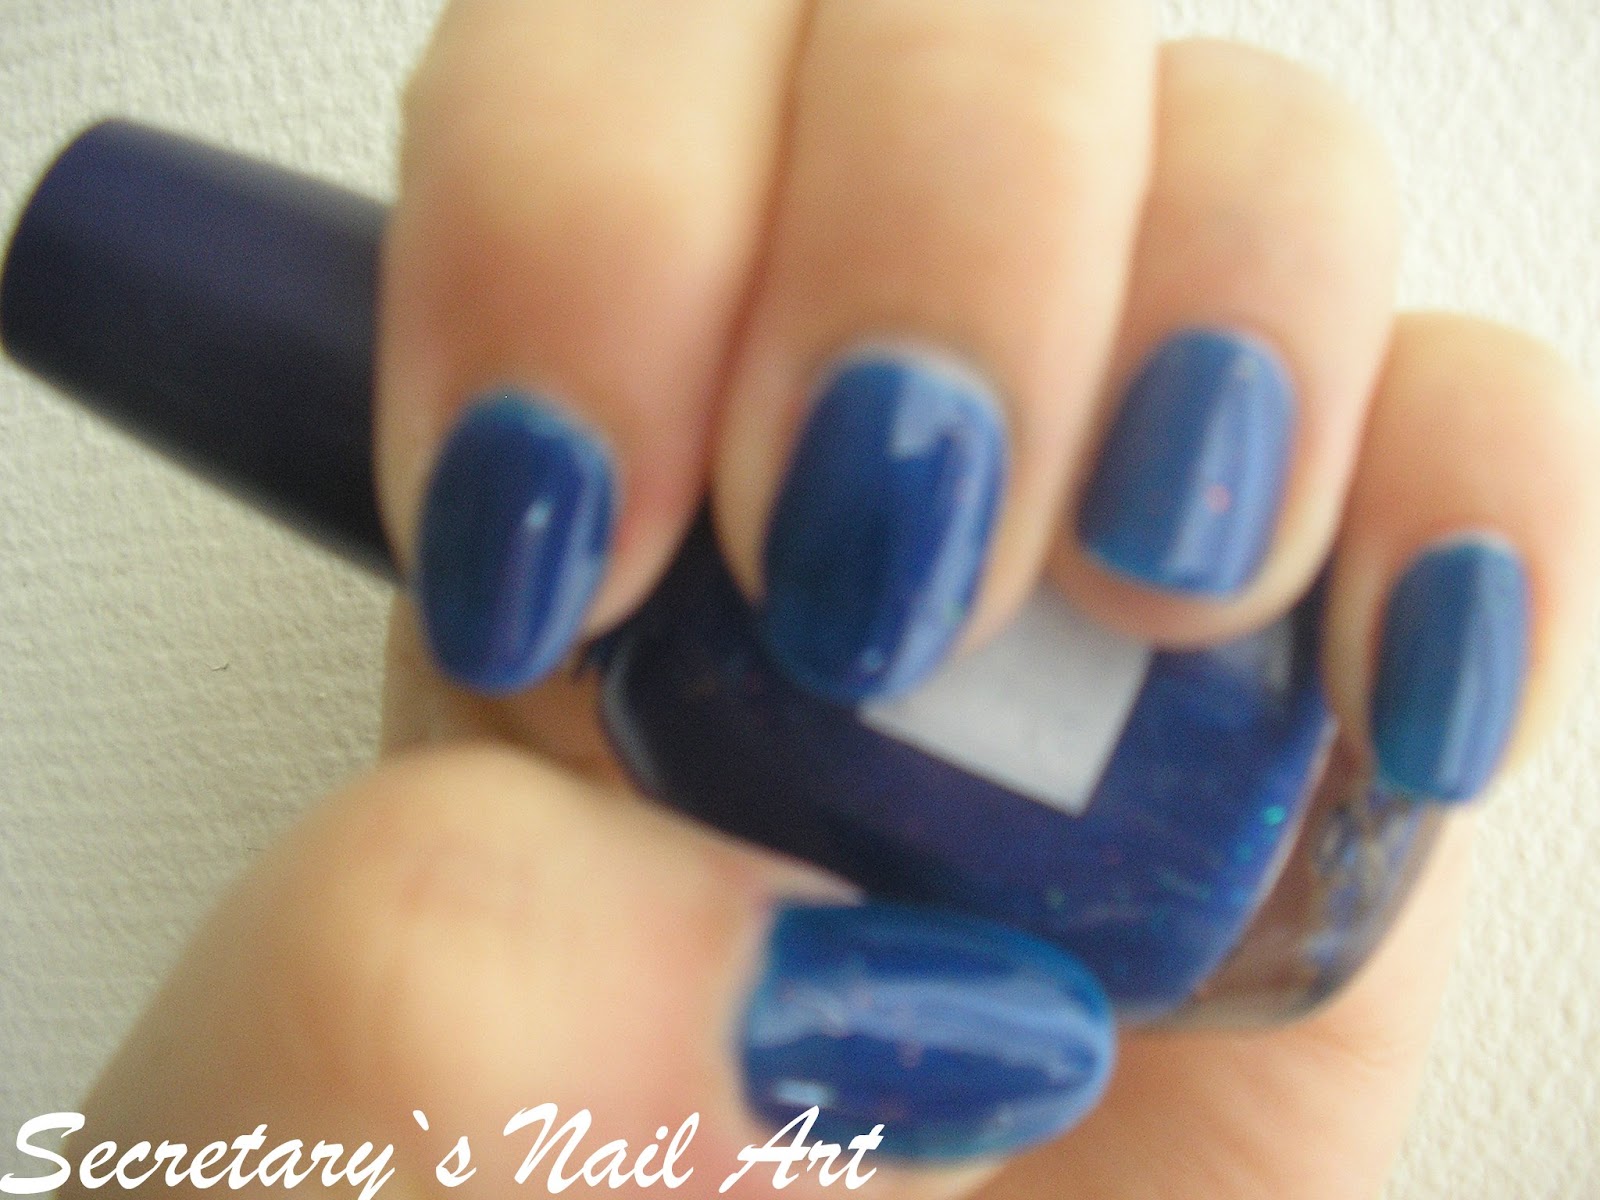
I felt like wearing my franken polish again, and this time I added some blue hex glitters at the border on my middlefinger as an accent. I made this half a year ago, you can see the post here. 

I like how the blue color in the hex matches the blue shade in the polish. It's pretty much spot on.

Its such a high-shine polish, it never fails to make me happy.
I wonder if it would look cool with random blue hexes in the bottle?


19 July 2012

Oh So Nude - Franken

Guess what!
I made another Franken. Who would have though...


For this Franken, I used a 1/3 mix of white, nail hardener and clear polish from H&M. 50% of a nude eyeshadow with shimmer, from E.L.F. As seen on the picture. An empty minibottle from H&M. 

First I mixed the polishes, adding a small steel ball helped a lot. I poured the eyeshadow in a plastic zipper bag, and made sure there where no lumps in it. Added a little to the polish mix, and stirring well, before adding more, to ensure that the mixture what as smooth as possible. Kinda like baking cake!

I wish I had one of those mechanical shakers they use on hospitals for blood-samples to shake it. Haha, it took me a while.

Sorry for the terrible cuticles, and dry skin, the building has really left them looking terrible. Going to give them some intensive care. 


17 June 2012

Franken This!

Hi everyone. Today I have a special blogpost, I just made my own polish. *pic-spam*


So to make this I used some leftovers from a clear polish, I don't think its made anymore, its Nivea - 01 Crystal.  My first polish, and I got it when I was 8, and found it in a park.
Then I mixed in a mini bottle (0.1 fl oz/3.2 ml) from H&M  in Blue (36681), used some more clear polish to get all the blue out of the mini bottle. 1.6 ml, to be exact.  Then I finished off with 1.5 ml Essence nail art topper - 05 night in Vegas, and 1.5 ml Essence nail art special effect topper - 05 time for reflection.
Hope I didn't go all to technical on you.


What do you think?